So you’re trying to build the best of the best, right? Searching the internet for the best gaming PC build for $1,000? Well search no further, you’ve found the ultimate build.
This build is easily able to run any current game on MAX settings and still keep 60+ FPS on 1080p resolution. This card is also perfect for 1440p resolution and can even run a few games at 4K resolution (3840 x 2160). Yeah, I know. Crazy.

This One Is For Gods Alike
If you’re wanting that kind of power in your $1,000 budget build then you’re going to have to build it yourself.
Now if you have never built a computer before and you feel kind of on the edge about the whole idea then I have some things I have to share with you. If you go out and buy a pre-built desktop for $1,000 then you’re going to miss out on 200%+ power potential behind the hardware with a custom build versus a computer that is for sale at $1,099 retail.
A pre-built desktop for $1,000 that I found had a 4th gen i7 in it for the processor but the graphics card only had the power of a Radeon R7 250. This is a ridiculous card to have if you’re going to be spending $1,000 on a computer.
The R7 250 runs about 200% slower than the video card that I have shared in this post. If that doesn’t motivate you do go ahead and build your own computer instead of going out and buying one in store then I’m not sure what will! 
How To Build A Computer
Another thing I’d like to share is that you do not need to worry about the “struggles” of building a computer. Building a computer from scratch is actually a lot easier than you’d think. All the process is just being able to plug in certain parts in certain spots and I have a video below here showing you exact step-by-step instructions to build your computer from scratch, even for a complete newbie.
That video should help shed some light on how this process is actually very possible, even for a new comer to building computers. It’s super easy and once you have it down then you can build custom computers for friends & family and maybe rack in some labor profits while you’re at it as well! 
Optimal Hardware On A $1,000 Budget
Last Updated: February 10th, 2018
* = Optional. Read below for more details.
 Case – Corsair Carbide Series Black 300R Mid-Tower
 Processor – AMD Ryzen 5 1600
 Motherboard – GIGABYTE GA-AB350-Gaming 3
 Video Card – Gigabyte GeForce GTX 1060 Mini OC 6GB
 RAM – Crucial 8GB Single DDR4
 Power Supply – EVGA 700 B1 80+ Bronze 700W
 * CD Drive (Optional) – Asus 24x DVD-RW
Final Price: $1,037.64
(Overpriced for now due to GPU and RAM markets being higher priced)
Build Details
This build is one for Gods.
Seriously though if you’re building this computer kudos to you then. You’re going to be mind blown by the power of this gaming PC and you’re going to be very happy that you made the investment! 
If you’d like to see what Grand Theft Auto V would look like at max resolution and max textures or maybe see the full potential of the graphical power behind PUBG… Whatever you throw at this computer, it’s going to run it phenomenally. This goes not only for gaming but for rendering softwares as well.
The computer case is entirely up to you but the case I have mentioned above is guaranteed to fit every single PC part and it also utilizes the USB 3.0 capabilities of the motherboard that I have listed. It has 2 USB 3.0 ports on the front. If you think you’ll be transferring any data from one your PC to another form of USB storage then I’d use the USB 3.0 slots. USB 3.0 gives much faster transfer rates while using it, it’s a nice computer luxury.

The Ryzen 5 1600 is ideal for this budget with it’s current price.
Now the Ryzen 5 1600 is a very reliable and fast processor that I can personally guarantee won’t disappoint. It’s the newest tech from AMD.
It comes with a stock AMD cooler which is going to be more than enough to make sure that the CPU stays nice and cool when it’s being used. There’s no need to go with an aftermarket cooler since the stock cooler from AMD is enough to even get a slight overclock going.
I changed the CPU from the i5-7500 to the Ryzen 5 1600 because it makes more sense at this price range. The pricing of the hardware needed for Ryzen finally makes sense and you’ll be able to overclock it a bit with the stock cooler to reach similar if not better levels of performance than the i5-7500.
There is a bit of controversy when it comes to the ideal CPU for this type of budget point. Should you go Ryzen? Honestly, you’re saving a bit of money going with Ryzen since as I mentioned above, you’re going to be able to overclock it with the stock cooler to reach a good level of gaming performance.
If you plan on gaming and doing heavy rendering tasks such as video editing and graphics rendering then it makes more sense to look towards using a Ryzen CPU. I had the i5-7500 here for a long while because with the pricing of all of the other hardware it made sense for those that are only gaming with this PC. Now whether you plan to or not, this PC is more than ready for any rendering that you may or may not be doing with other programs that need it.

Although a 1070 would have been ideal, we need to use a 6GB 1060 to stay within this $1,000 budget range.
A note about the video card, all GTX 1070s are overpriced right now and you may want to consider going with a 6GB GTX 1060 if you want to have a bit of a lower price point. Although a 1070 is the best choice for this budget point…
The Gigabyte GTX 1060 packs quite the powerful punch when it comes to video power. As I stated above its performance is more powerful than the video cards that you will find inside of the pre-built gaming desktops that retail for $1,000+.
The GTX 1060 is one of the top rated graphics card to date for 1080p and you’ll be amazed by the abundance of power that it displays through textures and various 3D models. I’m assuming that the current 1060 listed will go out of stock soon/rise in price and I’ll try to update this going forward.
You’re also guaranteed a good cooling mechanism with this card. This card is also very easily overclock-able so that you can really amp things up when it comes to graphical power. 
A while ago I wrote a post about how the new hardware such as the 1070 being way too overpriced. Although it is still not exactly at the price point that it was announced at – it’s definitely worth picking up for today’s price point. I really hope that the current price point sticks for a long while!
I used to argue that it wouldn’t make sense to have this newer hardware because it’s too much for simply gaming at 1080p. It makes a lot more sense to me, for those of you that are strictly on a $1,000 budget, to have the hardware good enough for 1080p and to move forward with it.
Well as I said, since the price point has gone down quite a bit in comparison to when it was first coming out, it’s kind of a “why not” scenario.
* A quick note about the CD drive – it’s optional if you know what you’re doing when it comes to installing your operating system via USB and getting the necessary drivers online. I share to use a CD drive because it helps those that are brand new to putting a PC together, it streamlines that process of getting the OS and drivers going.
Also, as far as pricing goes, I used to have a solid state drive listed in the previous update. Adding one in today means that we’d be going far past the budget point but I’d still suggest adding one in if you’re able to since it’s a lot faster than a HDD and it’d be worth the extra investment. If you can’t don’t sweat it, it’s not entirely essential.
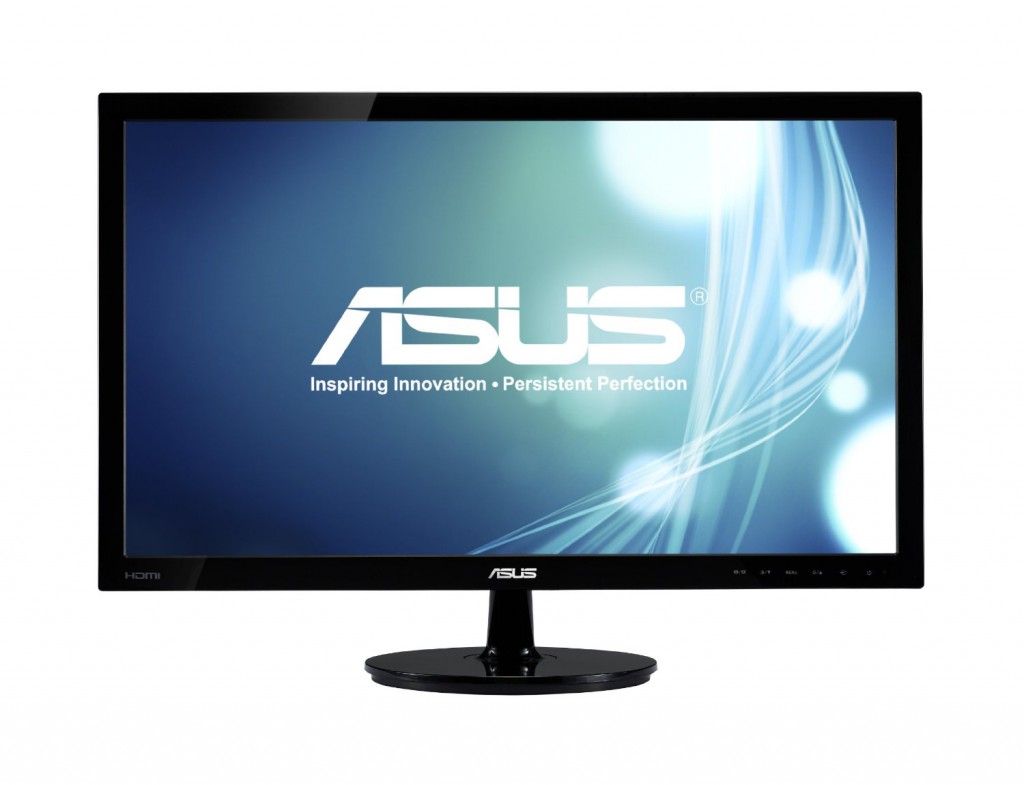
But before I forget, you’re going to need a monitor to be used with this 1060 right? Look no further than this one by Asus. There are different sizes available and I’ve been using one for years. Super good quality, super good price.
 Monitor – ASUS VS228H
Keep in mind that although 1080p is still a gorgeous resolution, the 1070 is completely capable of bringing the power together necessary to game at higher resolutions if you decided to get it. I’m talking 1440p and 4K resolutions – you’re going to be able to handle all of it just fine.
If you wanted to not spend so much money then I’d suggest picking up the above monitor and then down the road investing in another monitor that has higher resolution. Dual monitors would help with multi tasking for sure!
You’re also going to need a keyboard and a mouse to get the build all setup. It’ll be in your best interest to make sure that you have a mouse that’ll do good on at least a 1080p resolution and you’ll also want a keyboard that’ll stand the test of time.
 Keyboard/Mouse – CM Storm Devastator 3
You can’t go wrong with Cooler Master’s Devastator combo. If you have other peripherals in mind that you’d like my opinion on then feel free to link them to me in the comments area below, I’d love to let you know if they’d be good enough for this God-like build! 
Operating System And Internet Connection
Now for the operating system. The reason why I never add operating systems to the builds that I share with the world is because I feel like the operating system is entirely the PC owners choice. Everyone always thinks that you have to go with Windows but there really are different options that don’t cost anything.
Don’t get me wrong, I love Windows 10 and Microsoft is getting my hopes up for a pretty awesome operating system in the future but not many people want to throw down $90+ on an operating system.
I’d say that if you have the money for it then get Windows simply because it’s the most optimal choice. Almost every single PC game made today is made for Windows.
If you don’t have enough budget to include a Windows OS then I’d suggest getting a Linux based operating system called Ubuntu for now until you either get the money raised for Windows or if you end up liking Ubuntu then stick with it. Sure there aren’t as many games compatible with Linux that is on Steam but that’s changing and it’s changing fast.
SteamOS is soon to release and it is also Linux based. It’s supposedly going to run every game that Steam has to offer and I’m pretty excited for its final release. If they can actually pull that off, it’ll be the best OS yet.
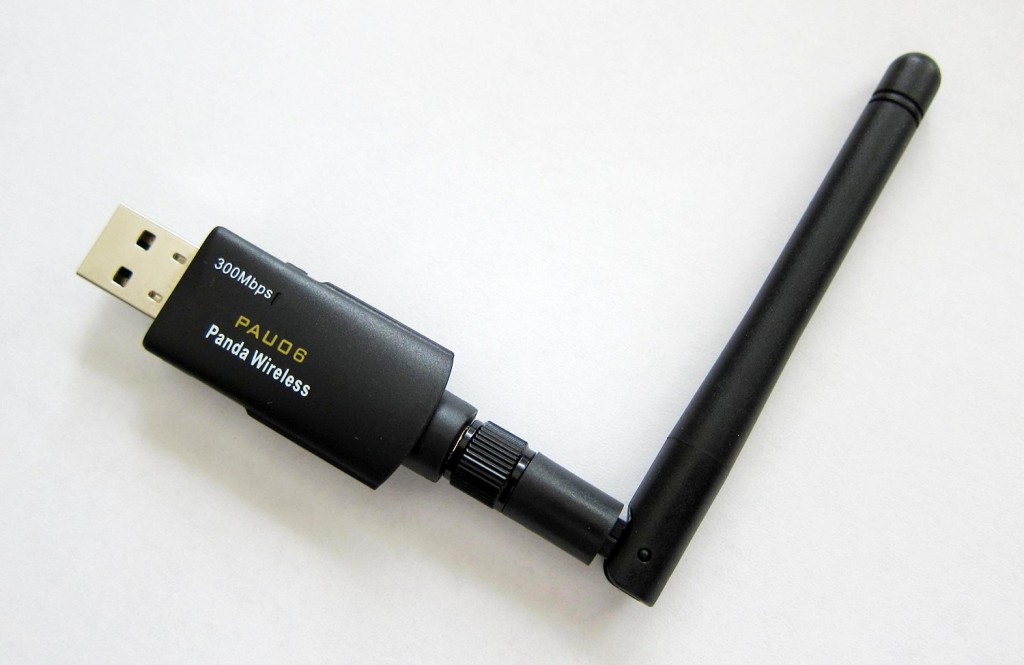
And as far as internet connection goes, your best bet is going to be going with a direct connection with an ethernet cord. If you can’t go with a direct connection then you can use the wireless network adapter below into any USB slot to connect to your wifi connection. It’s wireless and the antenna sticks out of the USB to find the wifi connection that you have at your house.
Based on the reviews on Amazon for the one that I have linked below, it has a very reliable connection. This is kind of crazy since it is a USB adapter, usually I’d recommend a PCI express slot adapter but for the money, since we’re all about being on the lowest possible budget, it’s good enough. If you’re super far away from your router/modem then you may want to consider an internal solution.
Check out the link below to read the reviews of it. I’ve also included a link to a 64bit version of Windows 10. It’s important to have the 64bit version because 32bit doesn’t allow 8GB of RAM, for some reason.
 Windows 10 64bit – Microsoft Windows 10 Home 64bit
 USB Wireless Network Adapter – Panda 300Mbps Wireless N USB Adapter
Also, as far as a keyboard and a mouse is concerned, I’d highly recommend that you check this combo out because it’s literally the best bang for your buck for both a keyboard and a mouse, they work perfectly together and the mouse is actually built for gaming.
To Conclude
All in all, if you’re looking for a build that is going to last for years and years down the road and also into the virtual reality evolution that we are starting to get into then this is going to be the build for you. This is going to handle absolutely anything you throw at it as far as games and software goes in today’s demand.
So what do you guys think?
Is this a build for PC gaming Gods? 
Let me know in the comments below! ![😀]()
If you have any questions about this build or anything else related to my site then ask away, I’m all ears!


